


Seam sealer application in automotive repair requires proper preparation: degreasing welds and sanding to ensure cleaner surfaces for optimal adhesion. Safety precautions are essential. Choosing the right seam sealer tailored to project needs is crucial. Correct application involves cleaning, sanding, using tools for thin layers, following drying times, and avoiding overloading for durable seals protecting welds from moisture and rust.
“Ensure robust and durable welds with the right seam sealer application techniques. This comprehensive guide delves into the best practices for sealing welded seams, a crucial step in enhancing joint integrity. From preparing your welded seams for application to selecting the optimal sealer and mastering the step-by-step technique, each section equips you with essential knowledge. Learn how to achieve superior results, prevent leaks, and ensure long-lasting structural strength through effective seam sealer application.”
- Prepare Welded Seams for Application
- Choose the Right Seam Sealer
- Step-by-Step Sealer Application Technique
Prepare Welded Seams for Application
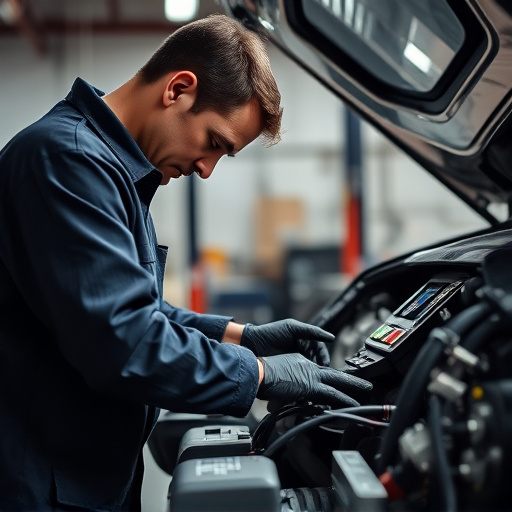
Before applying seam sealer to welded seams, it’s crucial to prepare them properly for optimal adhesion and long-lasting results. Start by thoroughly cleaning the welded area using a degreaser or solvent to remove any grease, oil, or dirt residue. This step ensures that the seam sealer will bond effectively with the metal surface. Next, inspect the welds for any imperfections, such as burn marks or rough spots, and use sandpaper to smooth them out. Removing these irregularities promotes a cleaner, more even application of the sealer.
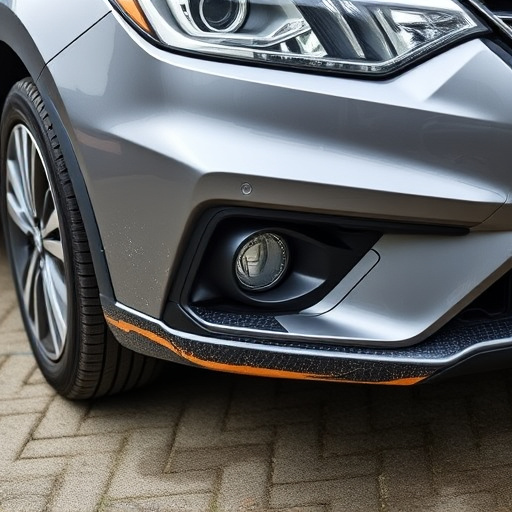
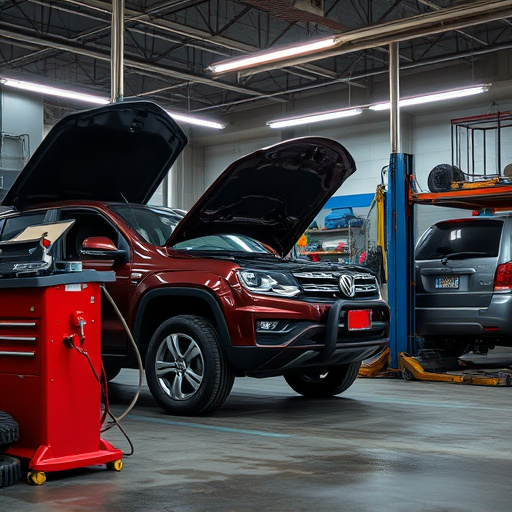
For bumper repair or collision repair services involving car damage repair, preparing welded seams is an essential step in achieving a durable fix. Proper seam preparation not only enhances the effectiveness of the seam sealer but also extends the life of the repair work. Always use appropriate safety gear during the cleaning and sanding process to avoid inhaling harmful fumes or causing further injury.
Choose the Right Seam Sealer

When it comes to applying seam sealer to welded seams, selecting the appropriate product is paramount for achieving a durable and effective seal. The right seam sealer should be chosen based on the specific requirements of the project, taking into account factors such as the type of material being sealed, environmental conditions, and expected exposure to various elements. For instance, automotive applications in tire services or auto collision centers may demand a sealer designed to withstand dynamic forces and fluctuating temperatures, while industrial car bodywork projects could require a more robust formula for long-lasting protection against harsh environments.
Understanding the unique demands of your project ensures that you select a seam sealer application method that delivers optimal performance. Look for products specifically formulated for welded seams, as these will offer tailored solutions for creating a strong bond and preventing leaks or weak points in the structure. Proper selection sets the stage for successful sealing, enhancing the overall quality and longevity of the finished product, whether it’s a vehicle undergoing repairs at an auto collision center or intricate car bodywork undergoing meticulous restoration.
Step-by-Step Sealer Application Technique
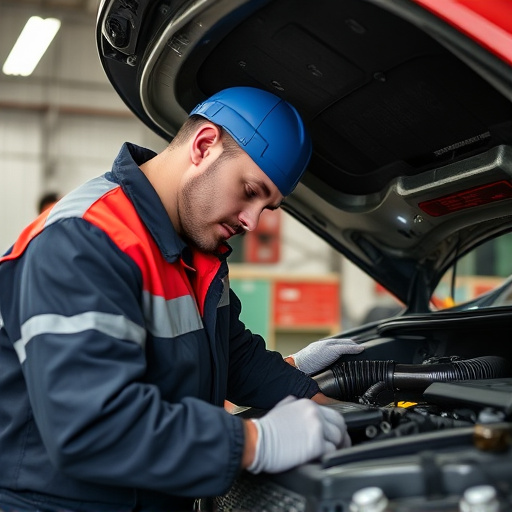
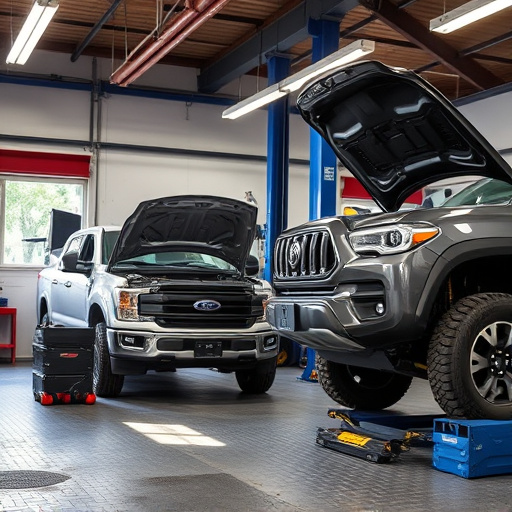
Applying seam sealer correctly is a crucial step in ensuring the longevity and integrity of welded seams, especially in autobody repairs at collision centers. Here’s a detailed, step-by-step guide for an effective seam sealer application technique. First, ensure your workspace is clean and free from debris. Prepare the welded surface by sanding it gently to create a rough texture that allows better adhesion. This is particularly important when dealing with tight corners or intricate weld patterns.
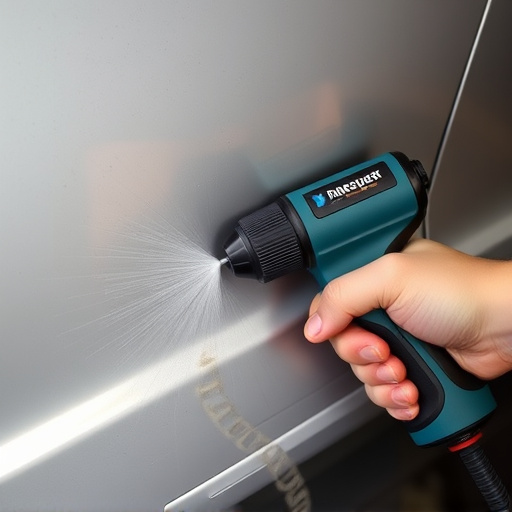
Next, apply a thin layer of seam sealer along the welded joint using a suitable tool like a caulk gun or brush. Spread the sealer evenly, making sure it fills all crevices and covers both sides of the seam. Avoid overloading the sealer as this can lead to runnels and excess material that needs removing. Let the initial coat dry according to the manufacturer’s instructions. After drying, inspect the seam for any gaps or imperfections. If necessary, apply additional coats, allowing each layer to dry completely before applying another. This meticulous process guarantees a robust seal, protecting the weld from moisture intrusion and rust, which is vital for maintaining the structural integrity of autobody repairs in collision centers.
Applying a high-quality seam sealer correctly is an art, but with the right preparation, product choice, and application technique, achieving strong, watertight welds becomes a seamless process. By following these best practices for seam sealer application, you can ensure your welded seams are protected against leaks, corrosion, and other environmental factors, making them durable and reliable in various industries.