


Proper seam sealer application starts with meticulous preparation. Clean and dry the area, addressing imperfections like rust with sandpaper and primer. Remove old sealer using degreaser, scraper, and wire brush to ensure better adhesion for a durable, professional finish. Light sanding and wiping down enhance adhesion, crucial for long-lasting protection and improved aesthetics in paintless dent repair.
“Mastering the art of seam sealer removal and reapplication is essential for any DIY enthusiast or professional craftsman. This guide delves into the intricacies of seamless sealer application, offering a comprehensive step-by-step approach. From preparing the surface to reapplying with precision, learn how to achieve durable, long-lasting bonds. Discover effective techniques to remove old sealer without damage, ensuring a fresh start for your project. Optimize your seam sealer application for superior results.”
- Prepare the Surface Properly for Sealer Application
- Step-by-Step Guide to Removing Old Seam Sealer
- Techniques for Reapplying Seam Sealer Effectively
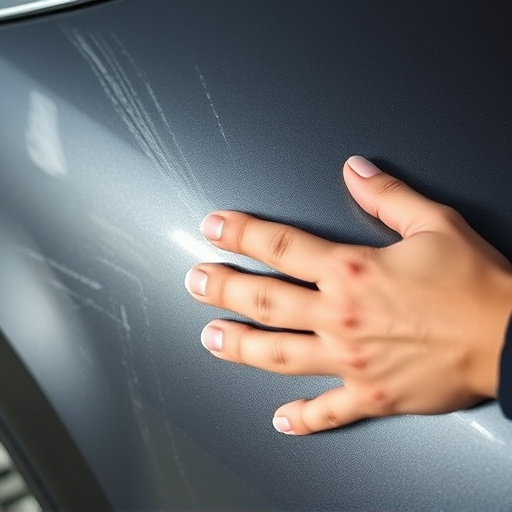
Prepare the Surface Properly for Sealer Application

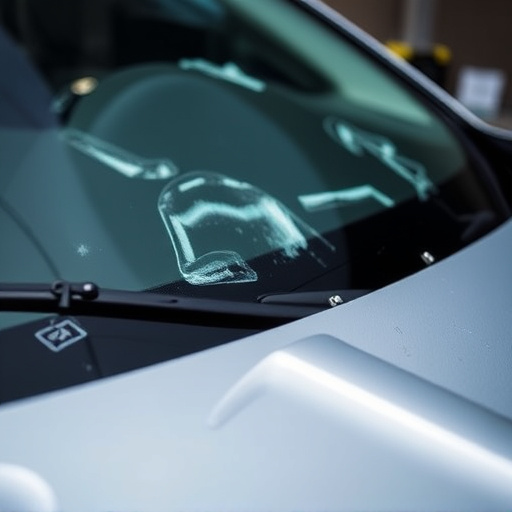
Before applying a seam sealer, it’s crucial to prepare the surface properly to ensure optimal adhesion and long-lasting results. Start by thoroughly cleaning the area around the seams using a degreaser or a mild detergent solution. This removes any grease, dirt, or dust that could hinder the sealer’s bond with the metal. After cleaning, dry the surface completely to avoid water spots or premature curing of the sealer.
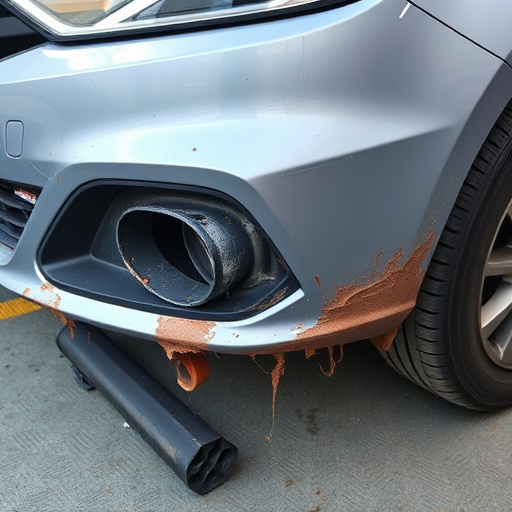
Additionally, if there are any visible imperfections like rust or pitting from collision damage repair or dent removal processes, address these issues before sealing. Rough patches can be smoothed out using fine-grit sandpaper, and a suitable primer should be applied to create a uniform surface for seamless integration of the seam sealer, ensuring that your car paint services yield the best possible outcome.
Step-by-Step Guide to Removing Old Seam Sealer

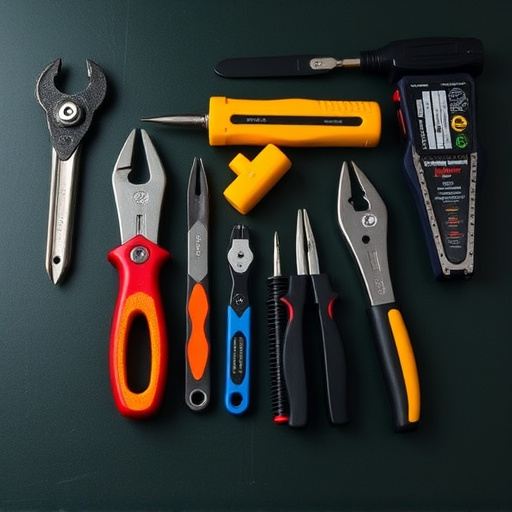
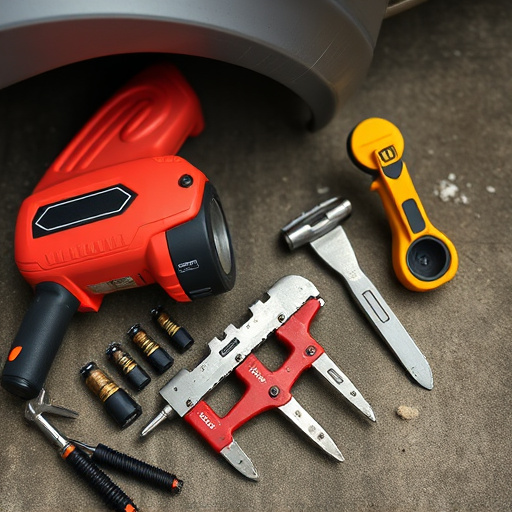
Removing old seam sealer is a crucial step before reapplying it to ensure optimal adhesion and an even finish. Start by gathering the necessary tools: safety goggles, gloves, and a degreaser suitable for the surface material. Put on your protective gear and apply the degreaser to the area where the old sealer has been used. Allow it to sit according to the product’s instructions, usually a few minutes, to soften the bond of the existing sealer.
Next, use a scraper or a putty knife to carefully lift the edges of the old sealer. Work in small sections, applying gentle but firm pressure to avoid damaging the underlying surface. Once the majority of the old sealer has been removed, use a wire brush or fine sandpaper to roughen up the area, creating a clean and textured surface that will promote better adhesion for the new seam sealer application—a key aspect when considering car paint services or fleet repair.
Techniques for Reapplying Seam Sealer Effectively
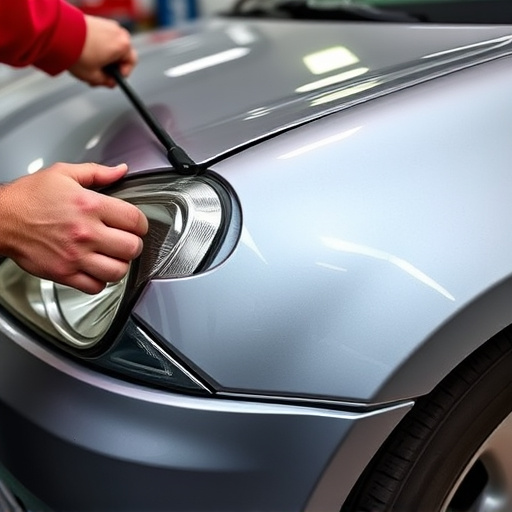
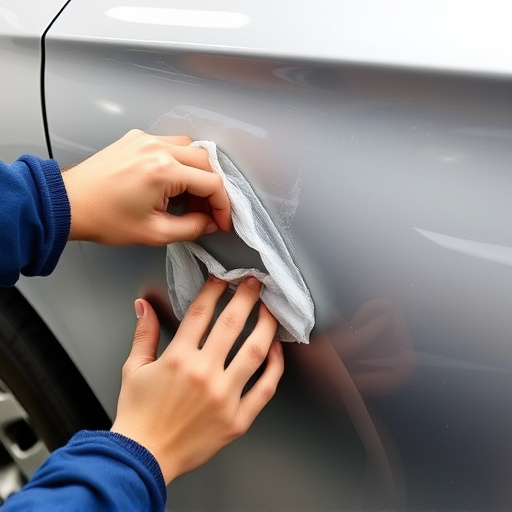
When reapplying seam sealer, proper preparation is key to achieving a durable and professional finish. Begin by thoroughly cleaning the area where the sealer will be reapplied. Remove any dirt, dust, or debris that might interfere with adhesion. This can often involve using a soft-bristled brush or cloth to gently scrub the surface. For areas affected by hail damage repair or collision repair, take extra care to ensure all repairs are complete and the surface is smooth before proceeding.
Next, sand the surface lightly to create a slightly rough texture that will enhance adhesion. Use fine-grit sandpaper to avoid damaging the surrounding area. After sanding, wipe down the surface again to remove any dust or particles. This meticulous preparation ensures that your new layer of seam sealer application will bond effectively with the existing material, providing long-lasting protection against elements and enhancing the overall aesthetics, especially when incorporated into paintless dent repair techniques.
Properly removing and reapplying seam sealer is essential for maintaining a durable, high-quality finish. By following these steps, from preparing the surface to techniques for effective reapplication, you can ensure your seam sealer stays put, protecting your project against moisture and wear. Master the art of seam sealer application, and your creations will stand the test of time.