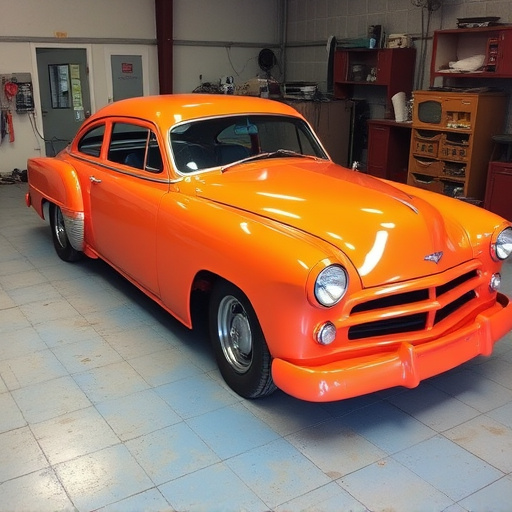


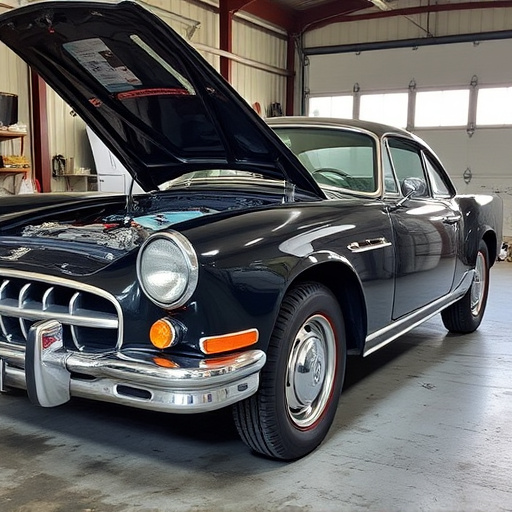
Seam sealer application is crucial for car restoration and scratch repair on worn parts like fenders, doors, and bonnets. Use after adjustments, replacements, or installations in areas exposed to harsh weather to prevent water, dirt, and elements from infiltrating joints, gaps, or cracks, thus extending the vehicle's exterior life by preventing rust and corrosion. Prepare surfaces by cleaning, drying, and sanding for optimal adhesion; inspect for damage and repair as needed. Effective techniques include thorough surface cleanliness, identifying gaps, light sanding, using primers, and even application with specialized tools for complete coverage without overloading seams in intricate restoration projects.
“Unsure when to apply seam sealer during your repair process? This guide unravels the intricacies of seamless sealing, an essential step in ensuring durable repairs. From understanding when it’s crucial to preparing the surface, you’ll learn best practices for effective sealing. Discover techniques to prevent leaks and enhance the lifespan of your repairs. By mastering seam sealer application, you can transform temporary fixes into long-lasting solutions.”
- Understanding When Seam Sealer is Necessary
- Preparing the Surface Before Application
- Techniques for Effective Seam Sealing
Understanding When Seam Sealer is Necessary
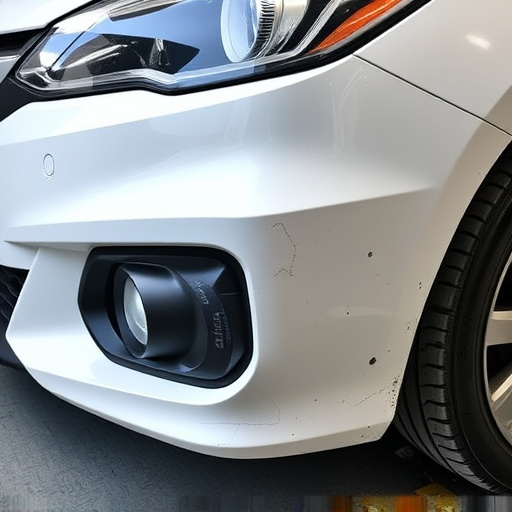
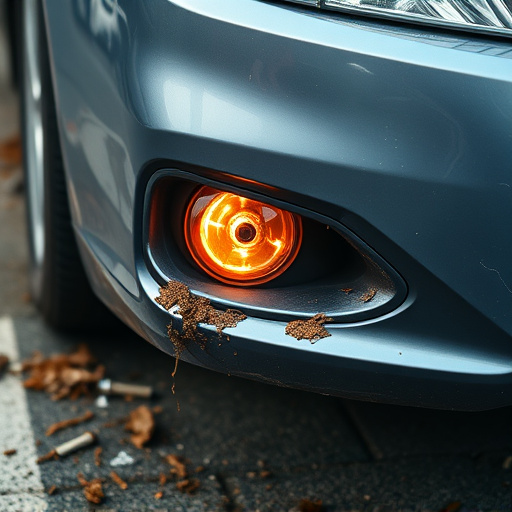
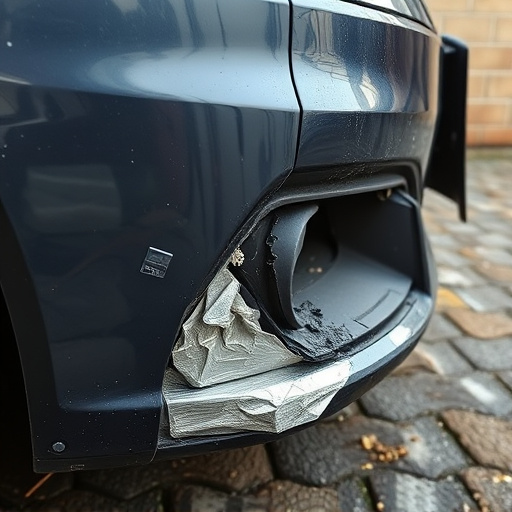
Knowing when to apply a seam sealer is an essential step in any repair process, whether it’s for car restoration or addressing scratch repairs in car bodywork. Seam sealers are designed to fill and seal joints, gaps, or cracks, preventing water, dirt, and other elements from infiltrating areas where materials meet. This becomes particularly crucial when dealing with intricate surfaces or areas prone to wear and tear, like fenders, doors, or bonnets.
During the repair process, consider using a seam sealer when you’ve made adjustments, replaced parts, or filled dents. It’s also recommended for new installations, especially in regions exposed to harsh weather conditions. For instance, during car bodywork repairs, applying a seam sealer after straightening panels ensures a durable, water-tight seal that prevents future rust and corrosion. This simple step can significantly extend the life of your vehicle’s exterior.
Preparing the Surface Before Application

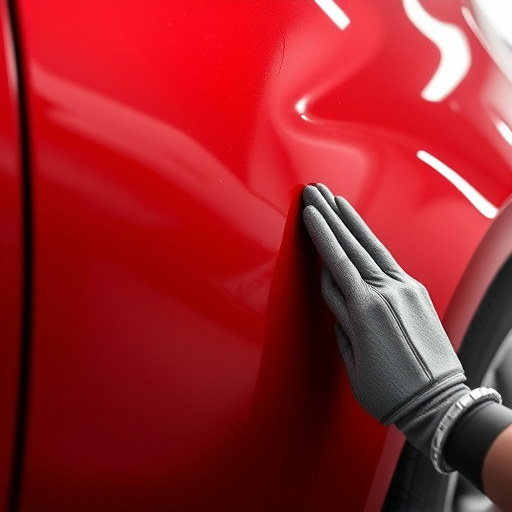
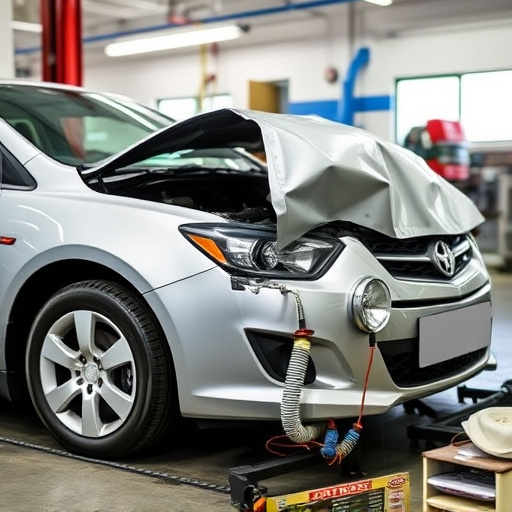
Before applying seam sealer, it’s crucial to prepare the surface thoroughly. This involves cleaning the area to remove any dirt, grease, or debris that could impede adhesion. A simple wash with mild soap and water followed by a thorough drying is often sufficient for most projects, especially in the context of auto repair near me. For areas like frame straightening, where metal may be more jagged or rough, light sanding can help create a smoother surface to ensure optimal seam sealer application.
The prepared surface must then be inspected for any signs of damage or imperfections. Repairing these issues prior to sealing is essential. In car bodywork, for instance, patching and priming any dents or gaps will provide a solid foundation for the seam sealer, ensuring its effectiveness in protecting against moisture and corrosion. This meticulous preparation stage sets the stage for successful seam sealer application, contributing to durable and high-quality auto repair outcomes.
Techniques for Effective Seam Sealing

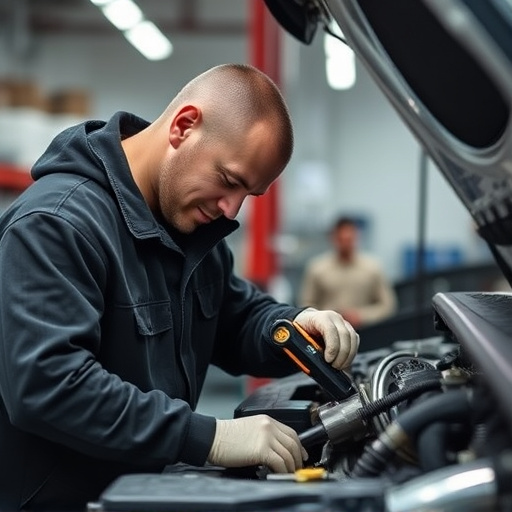
When applying seam sealer during car collision repair or automotive restoration projects, understanding the techniques behind effective seam sealing is key. The process begins by ensuring the surface is clean and free from debris. This includes removing any dust, grease, or leftover particles from the dent repair process. A thorough inspection of the seams to be sealed is crucial; identify any gaps or imperfections that might affect the bond strength.
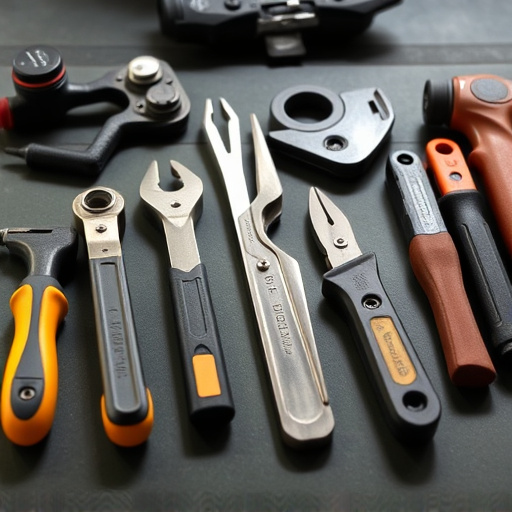
Next, prepare the seam area by lightly sanding it to create a rough texture, which enhances adhesion. Use appropriate primers designed for car body work to create a strong base for the seam sealer. Apply the primer evenly, allowing it to dry completely. The correct application of seam sealer involves spreading it evenly across the joint using specialized tools or brushes, ensuring complete coverage without overloading the seams. This step requires precision and attention to detail, especially in intricate automotive restoration projects.
Knowing when and how to apply seam sealer is an essential skill for any repair professional. By understanding when it’s necessary, preparing the surface properly, and utilizing effective techniques, you can ensure long-lasting repairs that stand up to wear and tear. Seam sealer application isn’t just about sealing seams; it’s about enhancing the overall durability and aesthetics of your work, making it a crucial step in any repair process.