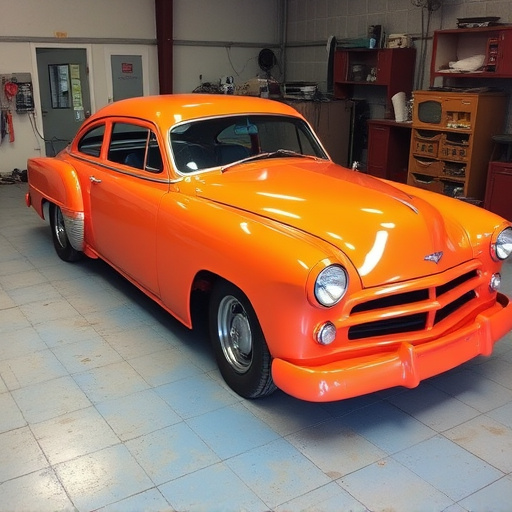


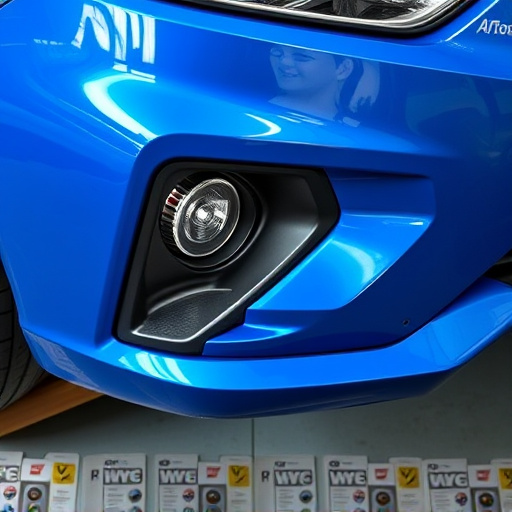
Seam sealers in vehicles are susceptible to environmental damage and wear, leading to cracks, chips, and peeling. Proper application involves using compatible sealers and following manufacturer guidelines for adhesion and longevity. Repairs require specific materials, including a suitable sealer, tools, and cleaning solutions. Cleaning, sanding, and applying new sealer in thin coats, with two layers recommended, ensure long-lasting protection against moisture intrusion and maintain vehicle aesthetic appeal.
“Learn how to repair old or cracked seam sealer in your vehicle with our comprehensive guide. Discover the common causes of seam sealer damage and understand why timely repair is essential for maintaining your car’s aesthetics and integrity. Gather the necessary materials, from cleaners to new sealers, and follow our step-by-step instructions for a successful seam sealer repair. Optimize your vehicle’s protection against moisture intrusion with effective seam sealer application techniques.”
- Understanding Seam Sealer Damage and Causes
- Gathering Materials for Repair and Application
- Step-by-Step Guide to Effective Seam Sealer Repair
Understanding Seam Sealer Damage and Causes
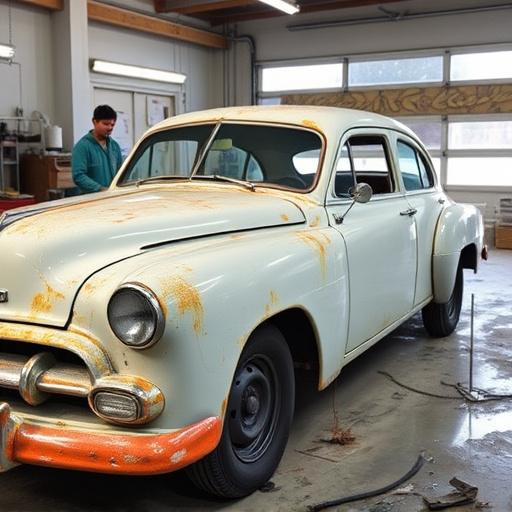
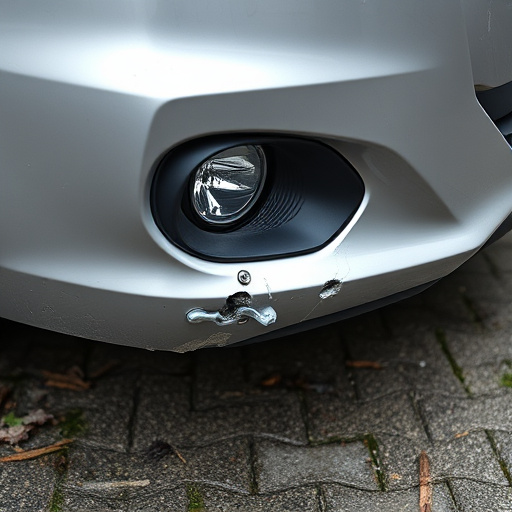
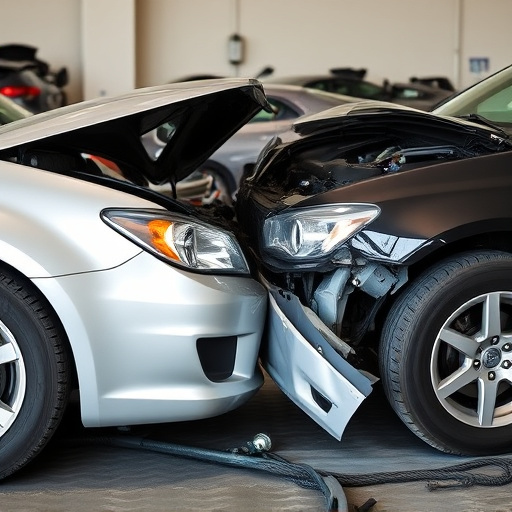
Seam sealers, an essential component of vehicle bodywork, often face various forms of damage over time due to environmental factors, wear and tear, or poor initial application. Understanding these causes is crucial for effective repair. Common issues include cracks, chips, and peeling, which can be attributed to extreme temperature changes, UV radiation from the sun, and exposure to harsh chemicals or road salt. These elements weaken the sealer’s bond with the underlying surface, leading to visible damage.
The initial application of seam sealer is a critical step in automotive body work. Improper techniques, such as using the wrong product for specific conditions or failing to follow manufacturer guidelines, can result in poor adhesion and premature failure. Even minor mistakes in the sealing process, like missing spots or uneven distribution, create weak points that are more susceptible to damage, necessitating timely repair to prevent further deterioration of the vehicle’s overall condition.
Gathering Materials for Repair and Application
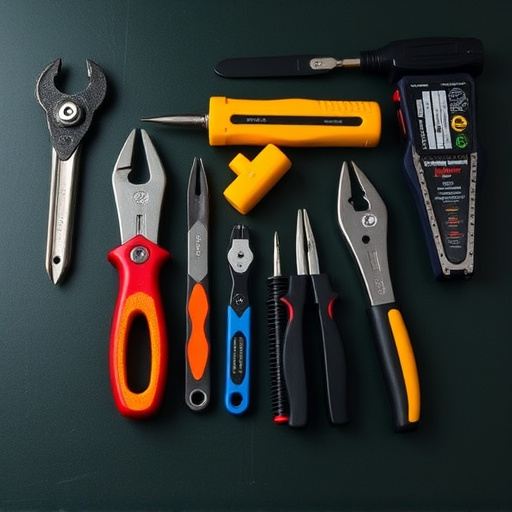
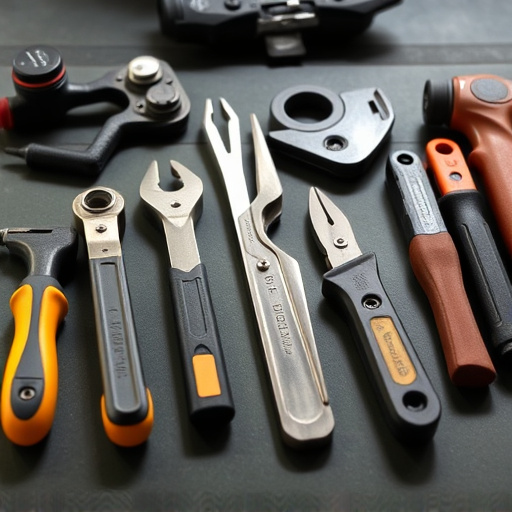
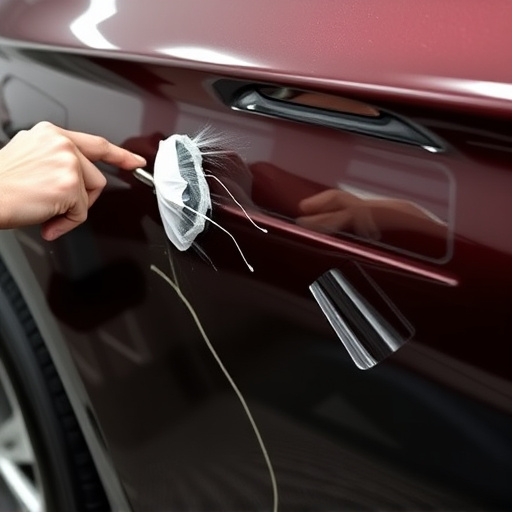
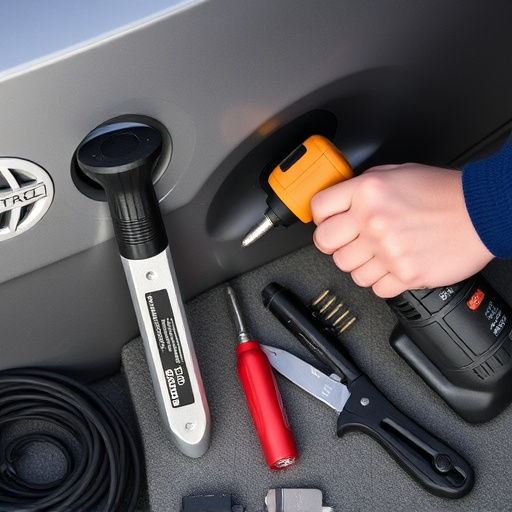
Before starting the repair process, it’s crucial to gather all necessary materials for seamless seam sealer application. This typically includes a high-quality seam sealer compatible with your vehicle’s make and model, along with appropriate tools such as a putty knife, sandpaper (grit 400-600), and a cleaning solution specifically designed for automotive body work. Ensure your workspace is well-ventilated to avoid inhaling harmful fumes.
At the vehicle body shop, professionals often use specialized equipment like heat guns to soften and remove the old sealer before applying new ones. In home settings, manual methods are sufficient. Clean the cracked or damaged area thoroughly, removing any dirt, debris, or loose particles. Sand the surface slightly to create a rough texture that aids in better adhesion of the new seam sealer. This preparation step is vital for achieving long-lasting results in automotive body work.
Step-by-Step Guide to Effective Seam Sealer Repair
Repairing old or cracked seam sealer is a crucial step in maintaining your vehicle’s aesthetics and structural integrity. Here’s a step-by-step guide to ensure effective seam sealer repair, enhancing the overall quality of your luxury vehicle repair services. Start by preparing the affected area by thoroughly cleaning it with a degreaser to eliminate any dirt or debris. This meticulous process is key in ensuring a robust bond between the new sealer and the vehicle bodywork.
Next, carefully sand the surface around the cracked seam sealer using fine-grit sandpaper. This step helps create a rough texture that allows for better adhesion during the seam sealer application. Once the area is prepared, apply a thin layer of high-quality seam sealer using a precision tool or a small brush. Ensure even coverage, filling any gaps or cracks to prevent future damage. Allow the sealer to dry according to the manufacturer’s instructions before applying a second coat for enhanced durability and an impenetrable barrier against moisture intrusion in your vehicle bodywork.
Repairing old or cracked seam sealer in vehicles is a straightforward process that can significantly enhance your car’s appearance and protect its interior. By understanding the causes of damage, gathering the right materials, and following a simple step-by-step guide, you can achieve professional results. Regular maintenance and timely repairs ensure optimal seam sealer application, preserving the vehicle’s integrity and retaining its value.