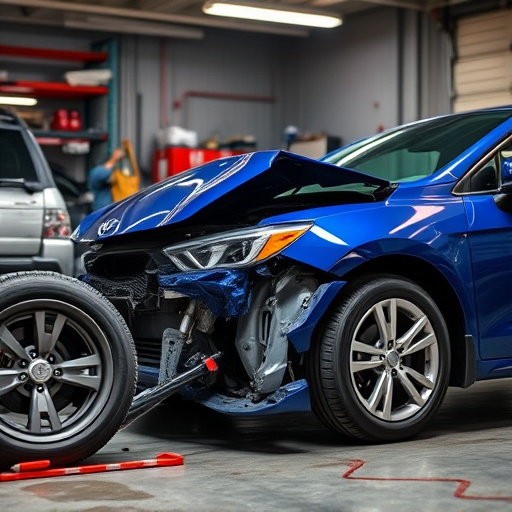


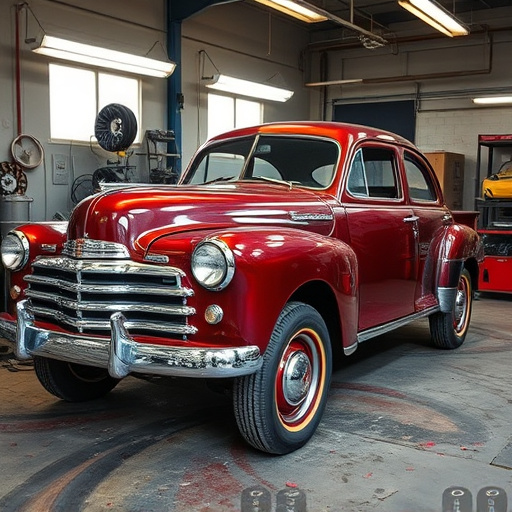
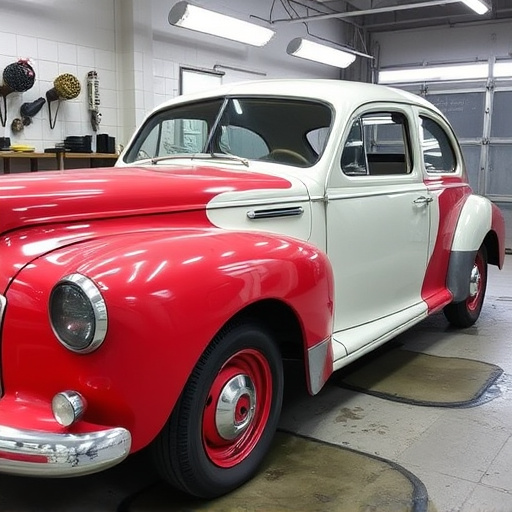
Proper surface prep (cleaning, drying, sanding) for fender repair is vital for seam sealer application. Inspect metal for rust/moisture, prime for better adhesion. Select auto-specific sealers based on material, environment, finish goals. Follow a guide for masking, priming (if needed), choosing & applying sealer, monitoring dry times. Each step prevents moisture intrusion, ensuring long-lasting collision repairs.
“Ensuring seamless and durable collision repairs demands a meticulous approach to seam sealer application. This comprehensive checklist guides you through preparing the surface, selecting the right sealer, and mastering the application process. From preparation techniques to choosing the optimal sealer for your needs, each step is detailed for expert results. By following this guide, auto body professionals can achieve long-lasting bonds, minimizing future repairs and enhancing vehicle aesthetics.”
- Prepare Surface for Seam Sealer Application
- Choose Suitable Seam Sealer for Collision Repairs
- Apply Seam Sealer Effectively: Step-by-Step Guide
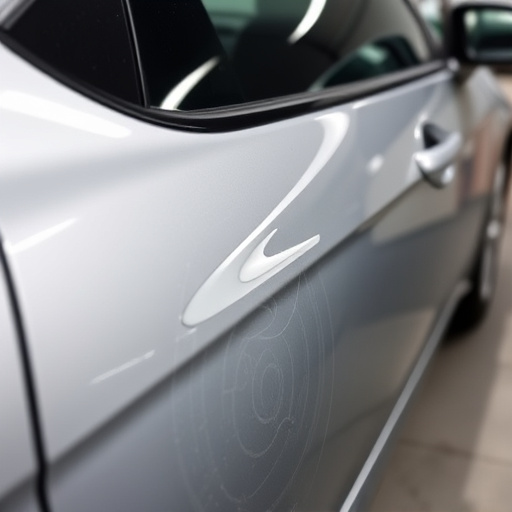
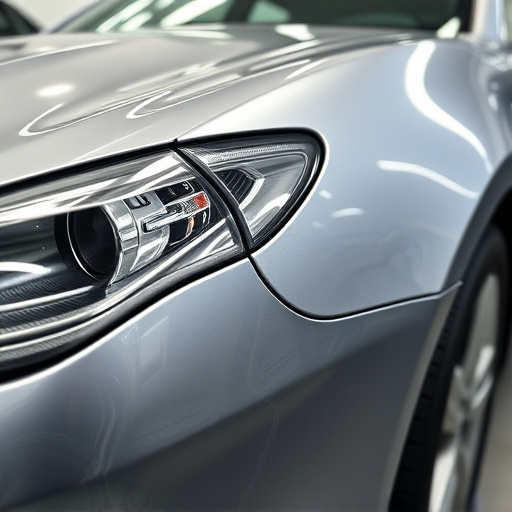
Prepare Surface for Seam Sealer Application
Before applying seam sealer, it’s crucial to prepare the surface for optimal adhesion. This involves thoroughly cleaning and drying the damaged area, ensuring no debris or contaminants remain. Sanding the surface slightly can also help create a rough texture that enhances sealant bonding. For auto repair near me or vehicle body repair, especially in fender repair cases, this preparation step is vital to guaranteeing a long-lasting, durable repair.
Inspect the panel for any remaining rust or moisture and address these issues before proceeding. Priming the metal can also improve adhesion, creating a smooth base for the seam sealer application. This meticulous preparation ensures that the seam sealer bond is strong, effective, and visually appealing, contributing to the overall quality of collision repairs.
Choose Suitable Seam Sealer for Collision Repairs
When selecting a seam sealer for collision repairs, it’s crucial to pick one tailored for automotive applications. The right seam sealer must offer excellent adhesion, weather resistance, and a durable finish—essential qualities for ensuring long-lasting repairs on vehicles like Mercedes Benz or through efficient fleet repair services. Look for products designed specifically for car restoration work, as these will meet the stringent requirements of the industry.
Factors to consider include the type of material being sealed (metal, plastic, fiberglass), environmental conditions during application, and desired cosmetic outcomes. For example, a fast-drying, flexible sealer might be ideal for tight corners on a Mercedes Benz collision repair, while a more robust, high-gloss option could be suitable for restoring a vehicle’s original finish in a fleet repair setting.
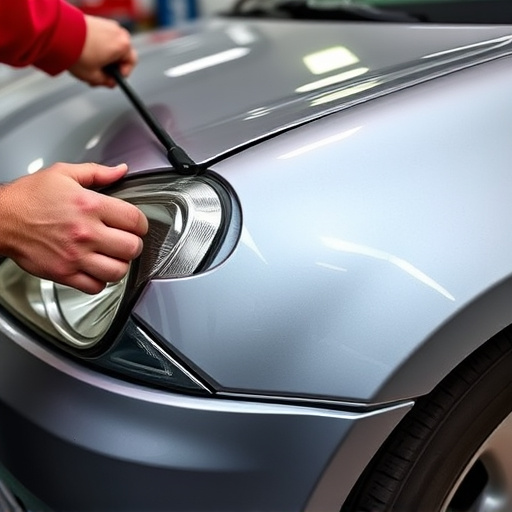
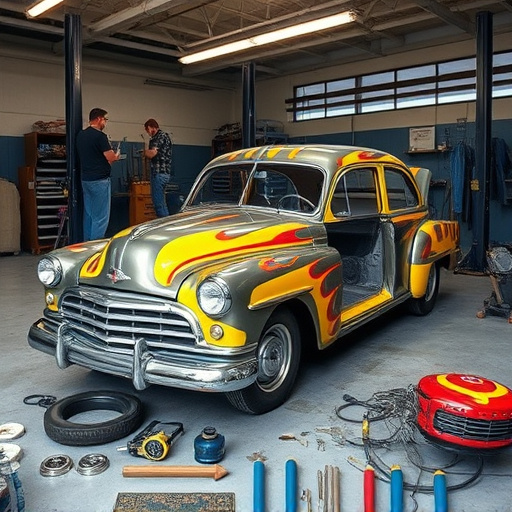
Apply Seam Sealer Effectively: Step-by-Step Guide
Applying seam sealer effectively is a crucial step in any collision repair process, ensuring the longevity and integrity of your vehicle’s exterior. Here’s a simple, step-by-step guide to achieving professional results:
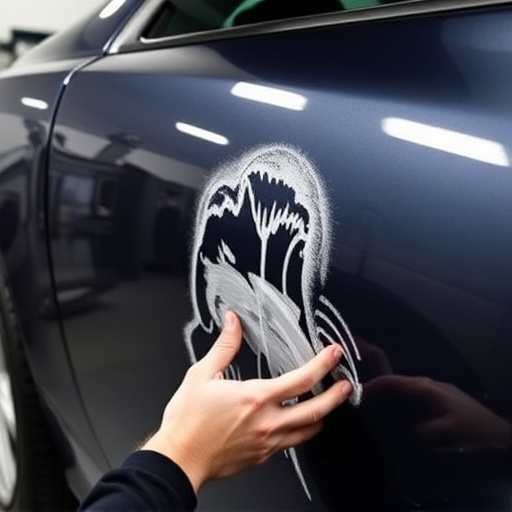
1. Prepare the Surface: Before applying seam sealer, thoroughly clean and dry the area. Remove any dust, grease, or debris that could interfere with adhesion. This includes sanding the joint slightly to create a rough texture that enhances bonding.
2. Mask Off: Protect surrounding areas from overspray by masking them with blue painter’s tape. Ensure the tape is secure but doesn’t overlap onto the seam you’re sealing.
3. Apply Primer (if necessary): Depending on your car body shop’s protocol, prime the area to improve adhesion. Allow the primer to dry completely before proceeding.
4. Choose the Right Sealer: Select a high-quality seam sealer suitable for automotive applications. This can be an epoxy or silicone-based product, depending on your vehicle’s specific needs and recommendations from your vehicle body shop experts.
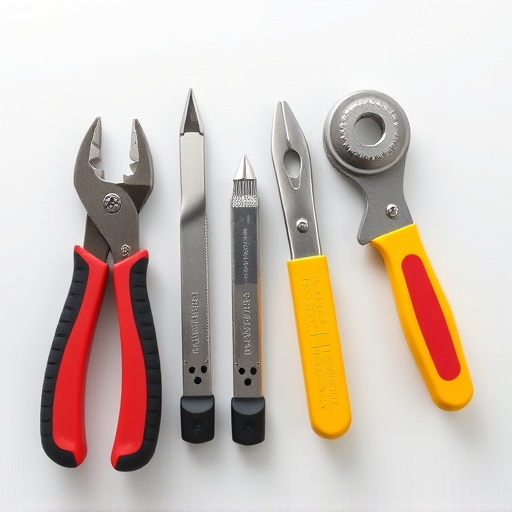
5. Use the Correct Tools: Employ a thin, even coat of sealer using a precision applicator tool like a squeegee or a small brush. Spread it evenly across the seam, avoiding overloading or underapplying.
6. Monitor Drying Time: Follow the manufacturer’s instructions for drying time. This could range from 15 to 30 minutes, depending on environmental conditions and the sealer type.
7. Remove Masking Tape: Once the sealer is dry, carefully remove the tape. Your car repair shop’s work should now be fully sealed and protected against moisture intrusion.
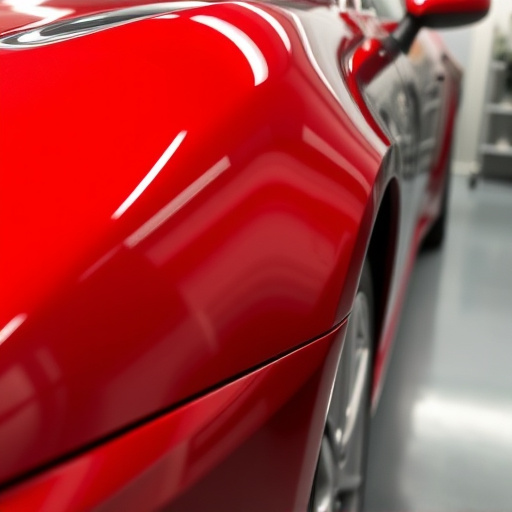
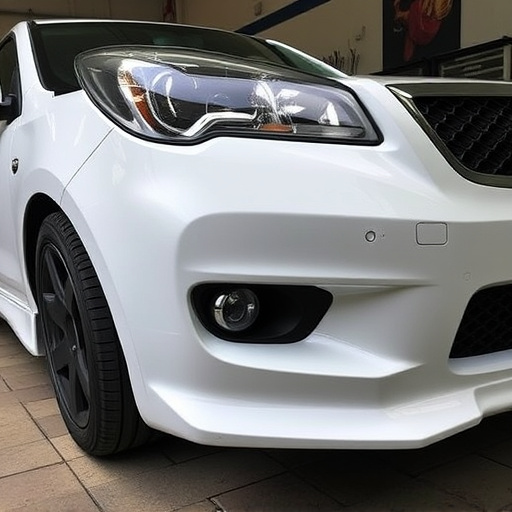
When it comes to collision repairs, proper seam sealer application is a critical step in ensuring long-lasting, high-quality results. By carefully preparing the surface, selecting the right seam sealer for your needs, and following a meticulous step-by-step guide, professionals can achieve a durable, water-tight seal that protects against corrosion and ensures the vehicle’s structural integrity. Implement these practices to optimize your collision repair process and deliver top-tier workmanship.