


Seam sealer is a critical component in auto repairs, offering protection against environmental damage and prolonging the lifespan of cosmetic repairs like painting. Its strategic application along seals and gaps prevents rust, corrosion, and water damage, enhancing aesthetics and vehicle value. In body services and collision repair, meticulous seam sealer application, starting with surface prep, primer, and using correct tools, ensures robust sealing for long-lasting results.
In the intricate world of auto repairs, understanding the role of a seemingly humble component like seam sealer is key. This versatile material plays a crucial part in maintaining vehicle integrity by sealing joints and gaps, preventing water intrusion and corrosion. From fenders to door panels, common areas on vehicles demand seamless (pun intended) application of seam sealer for optimal protection. This article explores these areas and provides a step-by-step guide to ensure effective seam sealer application.
- Understanding Seam Sealer and Its Role in Auto Repairs
- Common Areas on Vehicles That Need Seam Sealing
- The Application Process: Step-by-Step Guide for Effective Seam Sealer Use
Understanding Seam Sealer and Its Role in Auto Repairs
Seam sealer is an essential component in auto repairs, playing a critical role in ensuring long-lasting and high-quality vehicle repair outcomes. It’s a specialized adhesive designed to seal and protect the intersections and seams of various auto parts, particularly those exposed to environmental elements. The application of seam sealer involves careful placement along joints, such as panel gaps, door seals, and trim edges, where water, dirt, and other contaminants could penetrate.
Understanding the importance of seamless sealing is crucial in auto repair services. A well-applied seam sealer prevents rust, corrosion, and water damage, which are common issues in vehicle repair. By maintaining these sealed areas, auto body painting and other cosmetic repairs are better preserved, ensuring the vehicle’s exterior looks as good as new for longer periods. This, in turn, enhances the overall value of the vehicle and provides drivers with peace of mind on the road.
Common Areas on Vehicles That Need Seam Sealing
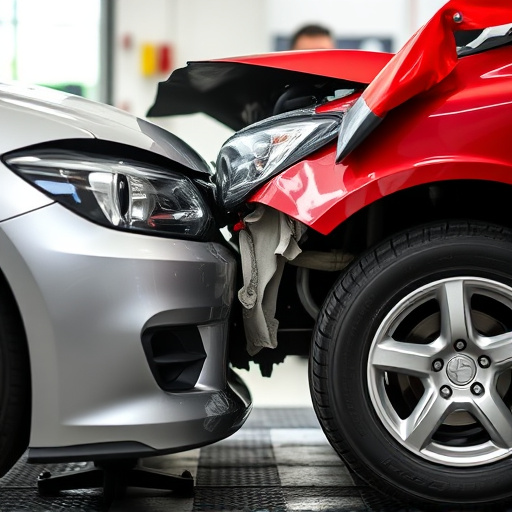
In the realm of auto repairs, seamless finishes are paramount to both aesthetics and functionality. When it comes to seam sealer application, several common areas on vehicles demand meticulous attention to ensure durability and water resistance. These include door jambs, window sills, and wheel wells, where metal joints meet. In collision repair or car paint repair scenarios, these areas are often vulnerable to moisture infiltration, which can lead to rust and structural damage over time. Proper seam sealer application involves using specialized products designed to fill microscopic gaps and create an impenetrable barrier against environmental elements.
Additionally, fender wells, floor pans, and underbody components also necessitate seamless sealing as part of vehicle collision repair processes. These areas are particularly susceptible to debris buildup and water ingression during accidents or harsh weather conditions. Effective seam sealer application not only enhances the structural integrity of these parts but also contributes to the overall longevity of the vehicle’s exterior, protecting it from corroding and ensuring a smooth, long-lasting finish.
The Application Process: Step-by-Step Guide for Effective Seam Sealer Use

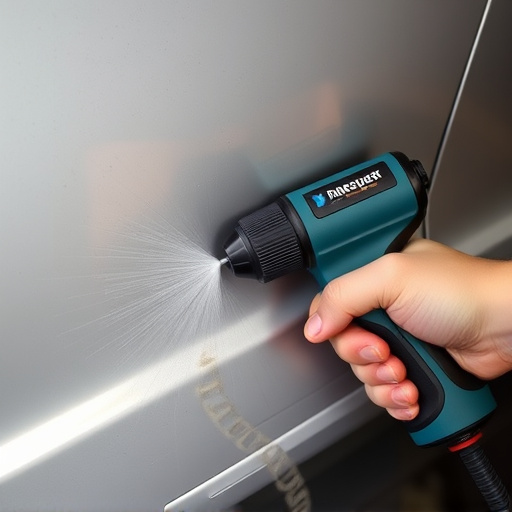
The application process for seam sealer involves several steps designed to ensure effective sealing and long-lasting results in auto body services and collision repair services. First, prepare the surface by thoroughly cleaning and drying it, removing any dust or debris that could impede the sealer’s adhesion. This includes using specialized cleaners and brushes to reach all crevices and contours of the damaged area, which is crucial for seamless integration of the sealer.
Next, apply a primer to the treated surface to enhance its receptiveness to the seam sealer. Use a thin, even coat, allowing it to dry completely according to the manufacturer’s instructions. After priming, carefully dispense the seam sealer along the seams and joints using an appropriate applicator tool. Ensure complete coverage without any gaps or overspray. Finally, smooth out any excess sealer for a clean finish and let it cure as recommended by the product’s guidelines. This meticulous process guarantees not only robust sealing but also enhances the longevity of vehicle paint repair in collision repair services.
Seam sealer application is an essential step in auto repairs, offering both aesthetic and functional benefits. By understanding its role and properly sealing common areas like doors, fenders, and trunks, technicians can ensure longevity, protect against moisture intrusion, and maintain the vehicle’s overall appearance. The process, when done right, becomes a game-changer in enhancing the car’s durability and resale value.